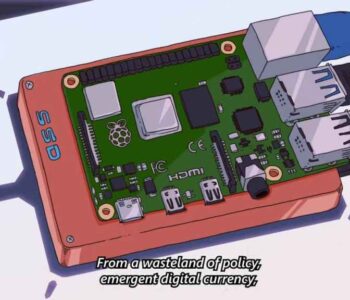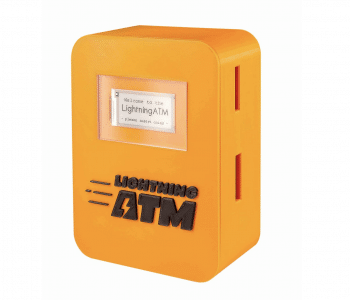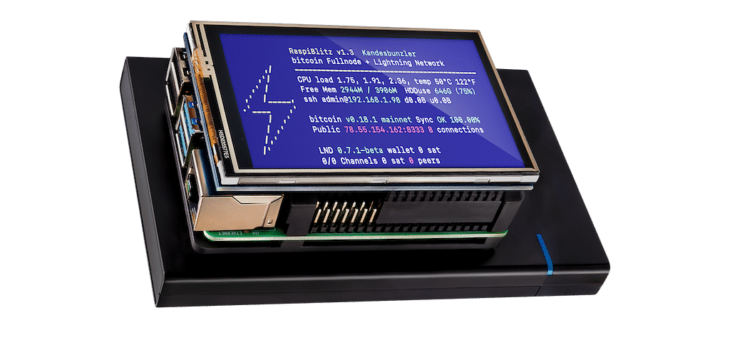
RaspiBlitz Unboxing
Becoming a first class citizen of Bitcoin – My experience with the Raspiblitz
“Be your own bank” – a saying strongly associated with Bitcoin, similarly close, perhaps even more than the Cypherpunk saying “Don’t trust, verify!”. And that is true: Bitcoin promises a monetary system which is not built upon different layers of trust. So you don’t need to trust VISA, your bank, an exchange, the FED or the ECB.
That‘s the ideal, but how does reality usually look like? Even when people are not storing their bitcoins on Coinbase or Binance, a lot of enthusiasts think that the journey to trustlessness ends with a hardware wallet. As reliable as hardware wallets oftentimes tend to be, it is a new layer of trust – and unfortunatelly, hardware wallets are unreliable sometimes.
So, is a paper wallet the solution? Well, a paper wallet is much simpler than a hardware wallet and hence not as error-prone (but much more cumbersome to use, but that’s another story).
With a seed phrase on a sheet of paper… are we trustless now? Of course not, we still have to trust other parties to host the Blockchain!
I hosted a Bitcoin client a long time ago, however, I took it down and never started a new one. A dirty little secret, right? From someone who is quite active in the Bitcoin community it should be expected that he is a first class citizen of Bitcoin. As a data nerd, getting in possession of the whole Blockchain was always quite a temptation for me. Needless to say, setting up and hosting a full node was one evergreen on my bucket list.
What prevented me from “being my own bank”? Beside a huge workload on my day job, I think the main reason was an overestimation of the required hardware and bandwidth requirements. With currently over 300 GB and a growth rate of 100-200 MB per day the greedy hoarder inside me got active. “What if you exceed your bandwidth?”, “Won’t that affect your Netflix-binging?” and other stupid excuses came up.
Finally, during the preparation for the Lightning Hacksprint, the Bitcoin idealist in me won against my inner sloth and thus I was happy that Fulmo helped me getting hands on one Raspiblitz, the Raspberry-Pi-based Lightning Node. As the nerd that I am, I had some prior experience with other Raspberry Pi and Arduino-based projects. So I wanted to assemble the Lightning Node by myself and decided for the Raspiblitz – Heatsink Case.
In this article I would like to describe my first steps towards being a full member of the brotherhood of Bitcoin. The aim is not to provide a guide. The reason is simple: Another guide is not really needed! Setting up the Raspiblitz, transferring funds to it and opening the first channels on the Lightning Network is not complicated at all. At every step it is clear what the software of the Raspiblitz wants you to do, the Github page of Raspiblitz is full of information and the community is eager to help. The aim of this article is rather to illustrate how easy it is to get a Lightning Node up and running.
Getting the Raspiblitz to run
Having said that, a complete technical layman might at first feel a little bit overwhelmed by the collection of electronic items:
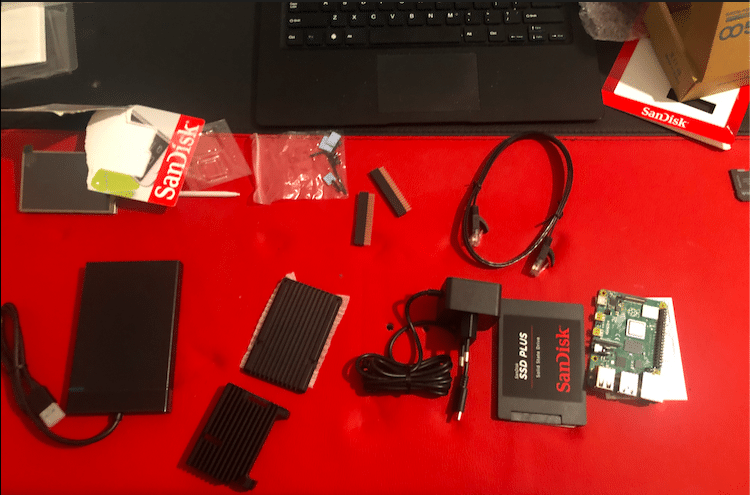
But don‘t be afraid: assembling the hardware is as complicated as building something out of Lego – or even more simple. The aforementioned Github Page of the Raspiblitz project is quite helpful, so it ony took a couple minutes until I ended up with an assembled Raspiblitz:
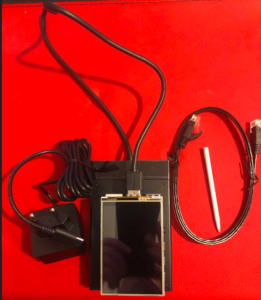
Yes, there are still some steps to go to a fully functioning node! Up until now we only have assembled some parts. No software, no Blockchain and no funds. So – you guessed it – no fun! So let‘s describe the next steps towards a fully functioning node. As you will see: no need to be afraid of being a first class citizen.
The first step you have to do is installing the operating system for the Raspiblitz. The current version is 1.5 and can once again be found on the mentioned Github page. As you can see: a lot can be found there, so simply put the link into your bookmarks. The easiest way to get this operating system up and running is to write the socalled iso-file on a SD card. That can be done with programs such as Balena Etcher. After writing the iso-file on the SD-card, simply plug this card into the Raspiblitz, connect the latter to a power source – and it‘s alive!
The system boots up and an address is shown over which you can access your Raspiblitz. The address will have the form 192.178.168.228. To access your Raspiblitz from another computer being a friend of the terminal is advantageous. So, open bash or another shell of your choice and enter:
ssh admin@192.168.178.228
You will be prompted for a starting password (which you’ll have to change later on). After some additional steps, the Lightning node is up and running.
Okay, “running” is perhaps not completely correct: The Blockchain is not yet downloaded. Being a bit patient pays off: Synchronizing the whole Blockchain from scratch takes a while!
After some time (usually around 48 hours) you can pride yourself: You now belong to the people with a complete copy of the Blockchain. You are part of the foundation of Bitcoin. Welcome to the elite, pal!
The final step to Lightning: opening and funding channels
Yes, with a node set up, up to this point you won‘t be able to transfer any bitcoins – be it via the Lightning Network or on the base layer. Some funds will still have to be transferred to your full node. Doing that is the same as sending some bitcoin, so everybody who played aaround with a mobile wallet, with a Trezor or an Electrum wallet will know how to do that. Also opening Lightning channels is not that complicated; the menu describes quite well what you have to do.
To open a channel to a peer, you have to connect to him. I set up my first Lightning channel to Fulmo‘s Lightning node, so I‘m all set for the next Lightning Hackday or the day when I can buy nifty Lightning basecaps or T-shirts at the Fulmo shop. All the information needed to connect to a possible peer can be found at 1ML:
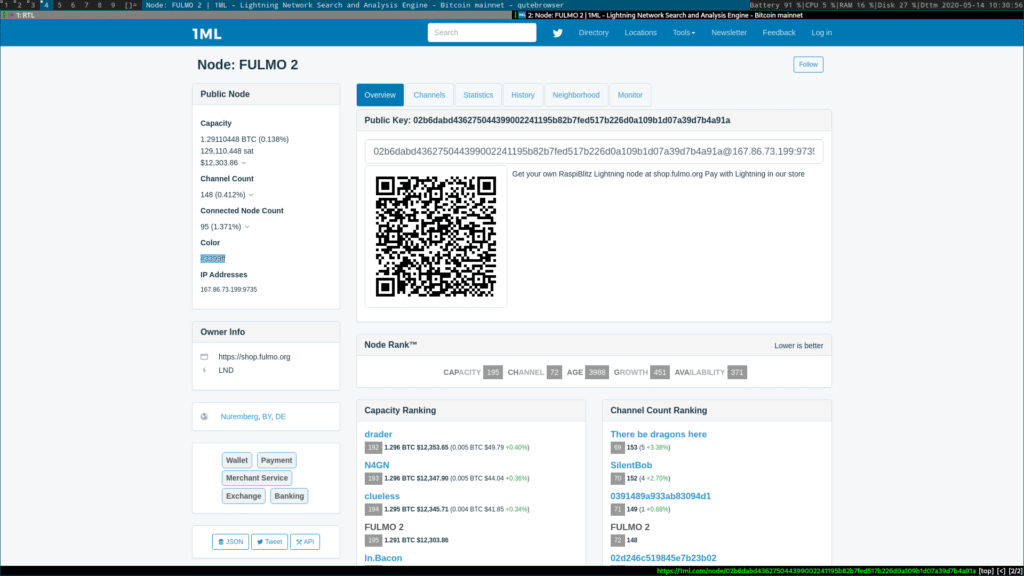
After the connection is established it‘s easy to fund a channel with this peer. Simply state the amount in satoshis. Then you will have to wait for three confirmations and the first channel is opened.
The next steps as a first class citizen
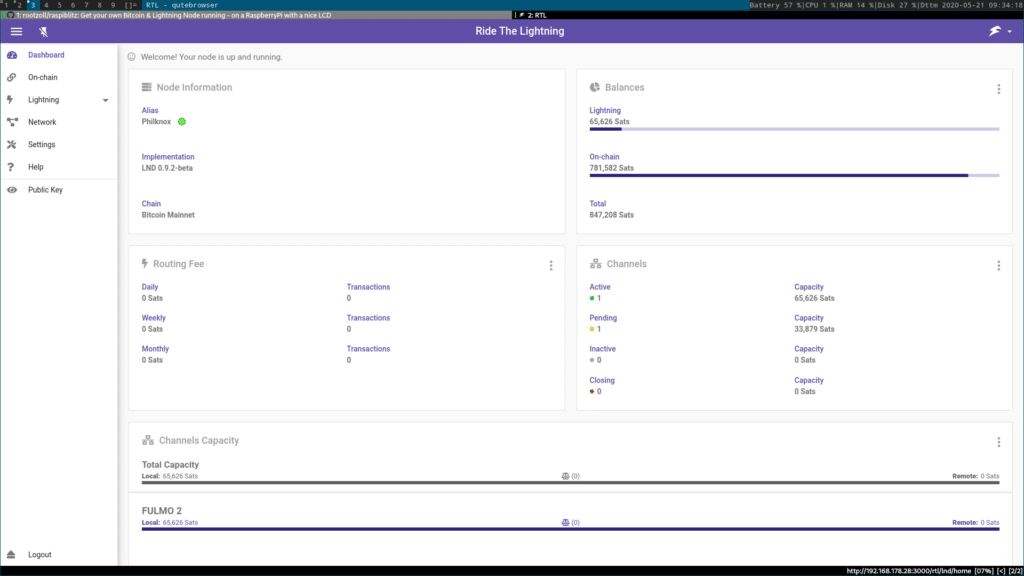
Your Lightning node adventure does not stop here. Sure, you can now send and receive money via the base layer and via Lightning network, but you can do so much more. You can connect several mobile wallets with ease, you can use Joinmarket as a Coinjoin service … there are a lot of possible next steps. For people not loving the terminal as much as I do, there is also a web user interface called „Ride the Lightning“ available:
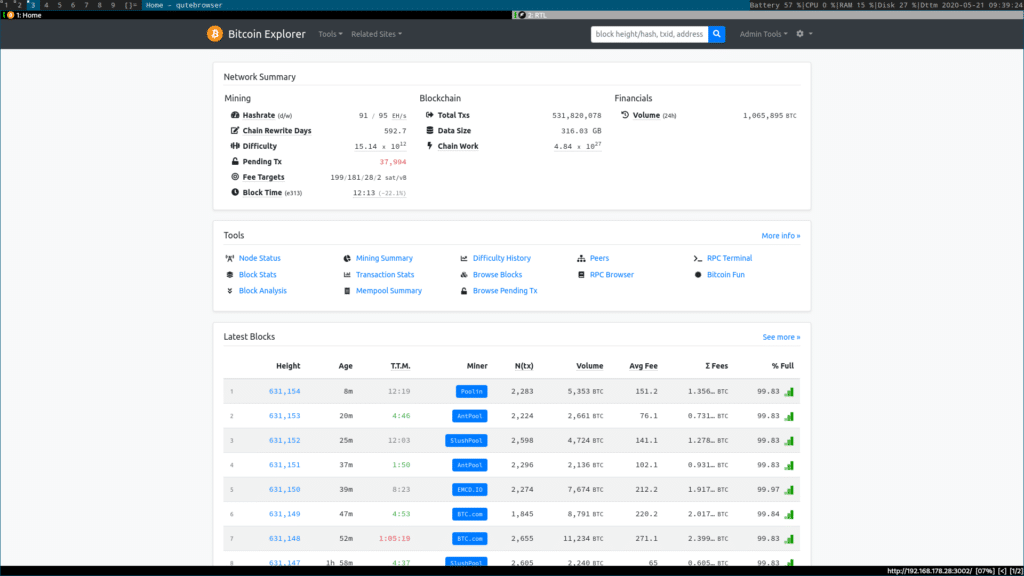
Speaking of web user interfaces: You don’t need to trust external Blockchain explorers anymore! With the Bitcoin Blockchain at your home, you have everything you need to set up your own Blockchain explorer:
Similar to the lessons regarding the Lightning Hacksprint, I can highly encourage everyone to set up a Raspiblitz. It‘s very easy and straight-forward, the bandwidth at your home won’t break down and you will do an essential job for the decentralization of Bitcoin. “Don’t trust, verify” won‘t be a simple saying anymore, you will live it now. So, get your hands on a Raspiblitz, set up this Lightning node and become a first class citizen of Bitcoin! I’ll be waiting on the other side.

